Chapter 7. Views
- Table of Contents
- 7.1. Adding a new view
- 7.2. Edit a view
- 7.3. Reconfiguring layout of a view.
- 7.4. Use a view
- 7.5. Views and domains
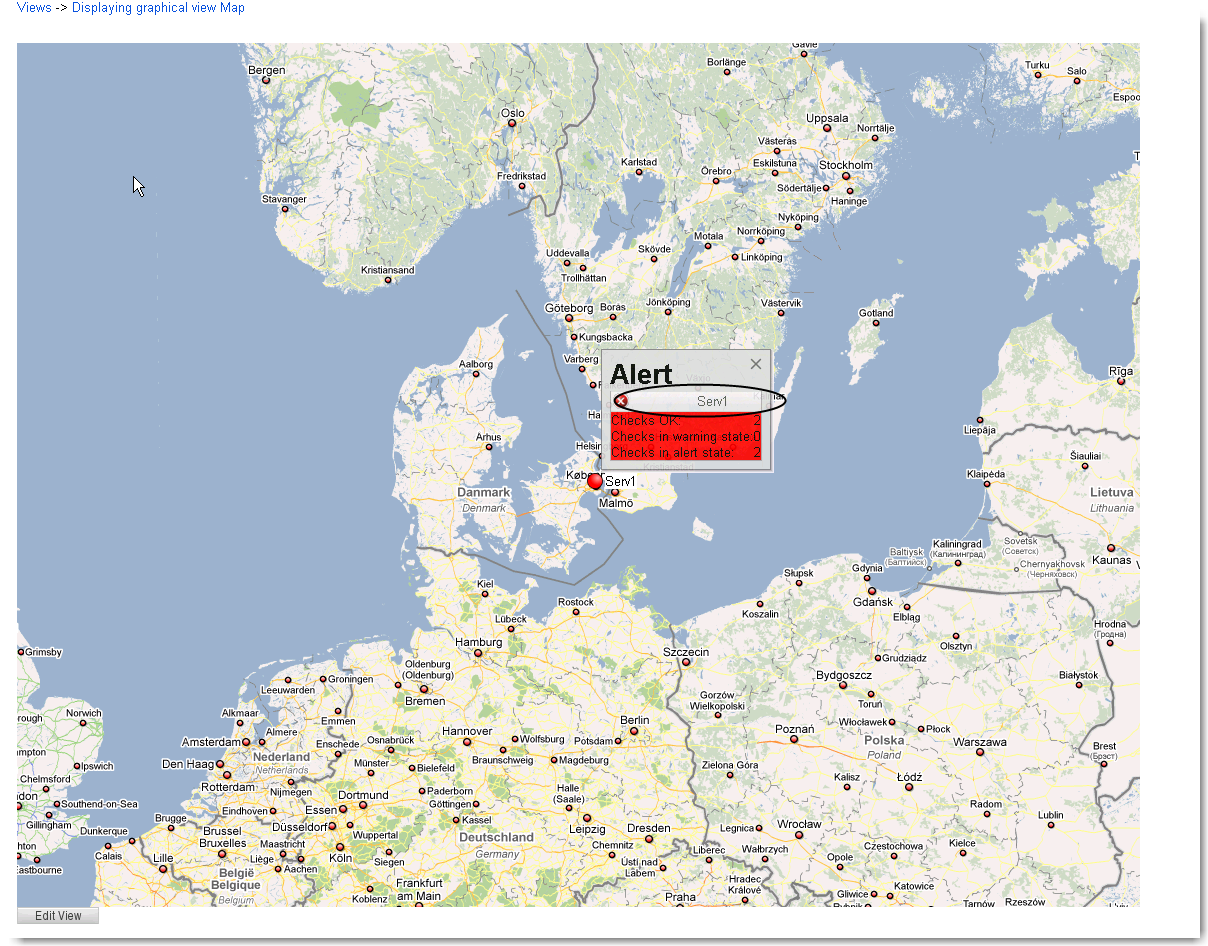
SysOrb graphical view is a unique function that enables the user to easily upload a png image to the SysOrb server. Typically the image would be a geographical map or a typology map of the network. Once an image has been uploaded, the user can chose to ad nodes, checks or domains to the image/map. For example this feature can be used to:
-
Create network maps with a status icon for each device on the map.
-
Create "Map" views that can be shown on network operation center screens.
-
Create a network overview for publishing on the companys Intranet for e.g. information to the top management.
-
Create a custom view of the most important nodes/checks in your network.
7.1. Adding a new view
To add a new new view, do the following:
-
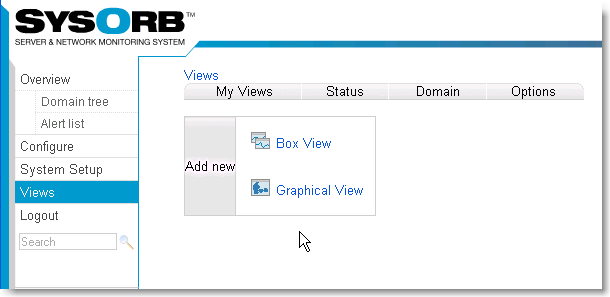
Select in the navigation menu to the left.
-
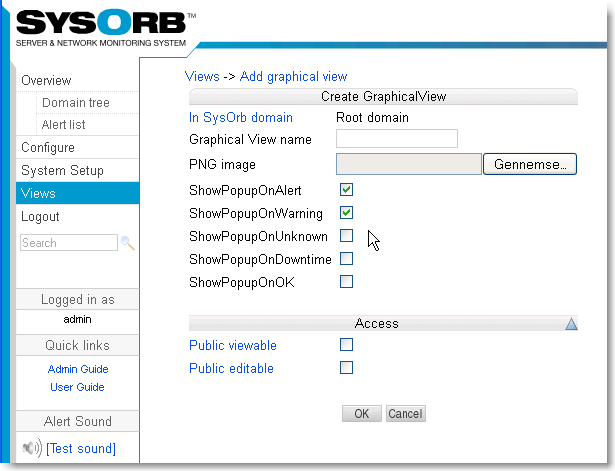
Click the , to create a new view. You will now get a view template you can fill out.
-
Enter the name you want the new view to have.
-
Select the PNG image you would like to upload to SysOrb.
-
You chose if you would like a popup on alert or not. A Popup is a small box that will appear every time there is an alert. You can always edit this later.
-
Select the Public view button, if you want other users to be able to use this view.
-
Select the Public view button, if you want other users to be able to use this view
-
Finally press the button to accept the new view.
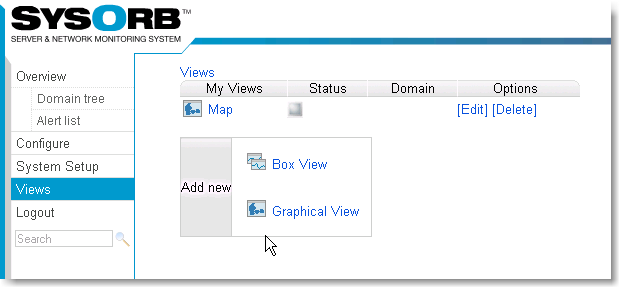
After adding a new view you would probably like to edit it, selecting the checks, nodes and domains you want to view.
-
Press Edit to configure your map.
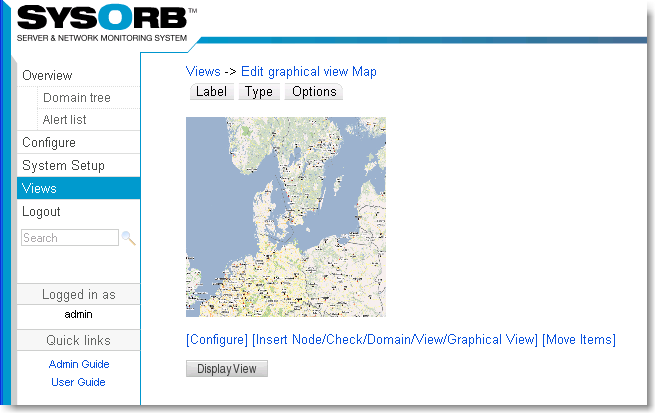
-
Press (Insert Node/Check/Domain/View/Graphical View).

-
Navigate to the check, node or domain you want to place on your graphical map. And click the Add to graphical view link..
-
In this example we will chose sysorbtestpc
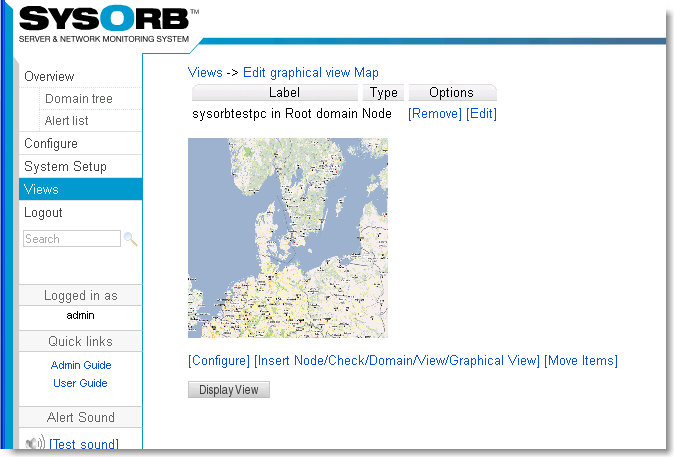
-
Now we can chose to give sysorbtestpc a new label or we can chose to have no name at all for the node. We chose edit to change the label.
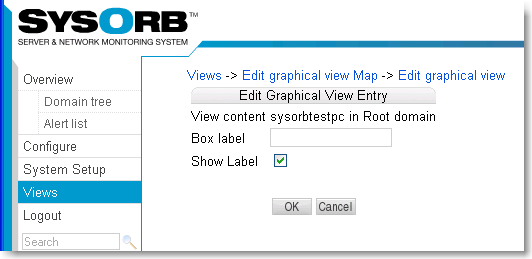
-
If no box label has been set the default will be the node name. Now we change the name to e.g. serv1 and press OK.
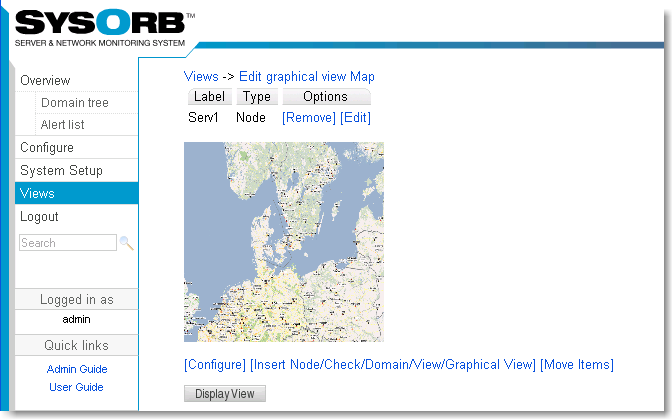
-
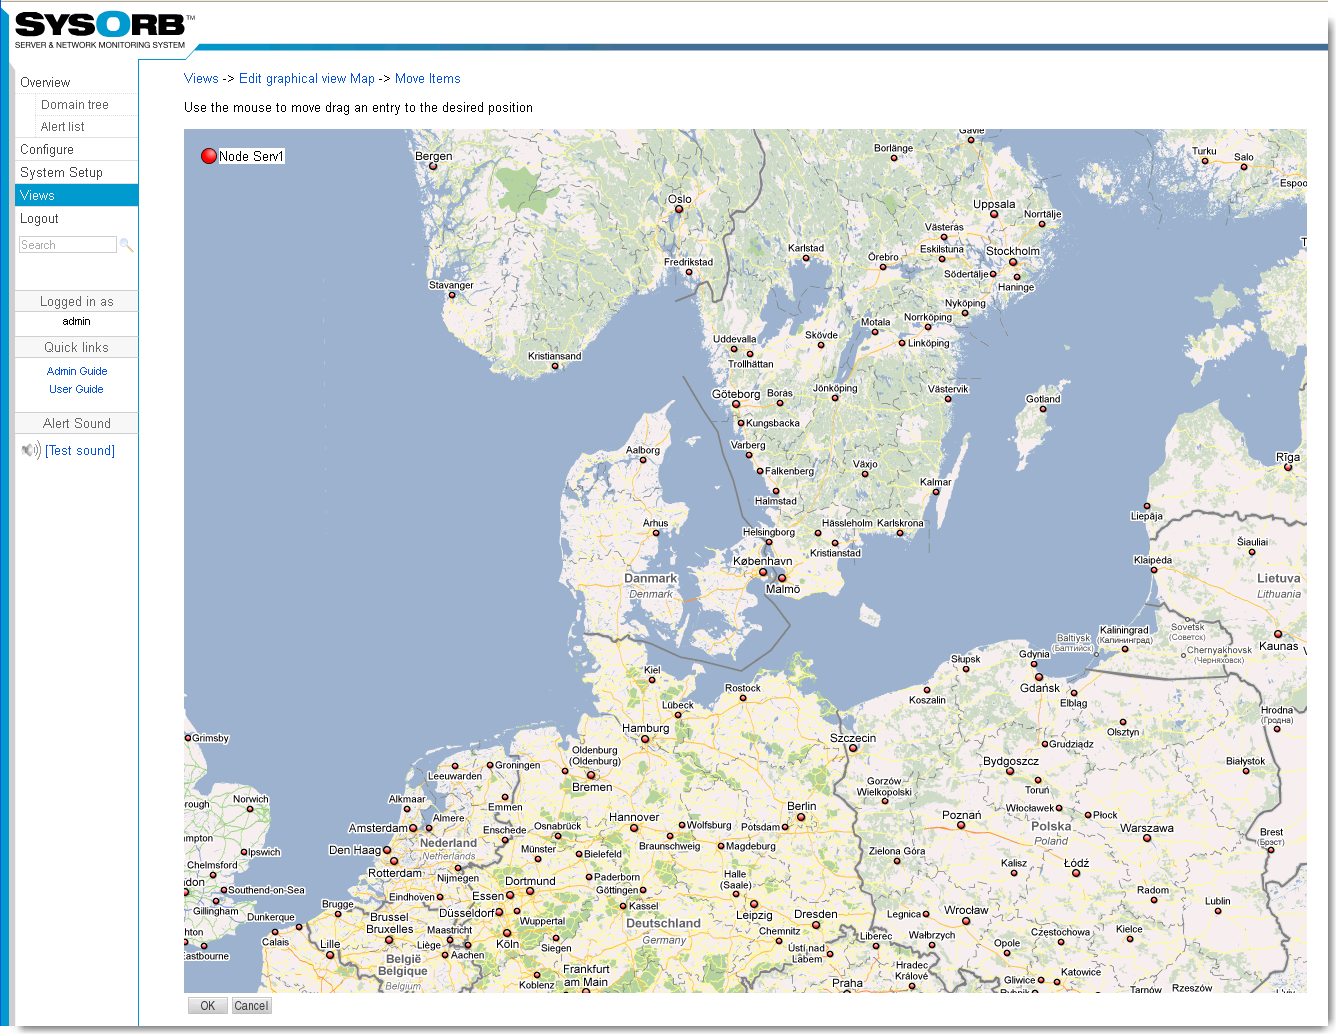
In order to move the node to where it should be on the grafhical view press (Move Items).
-
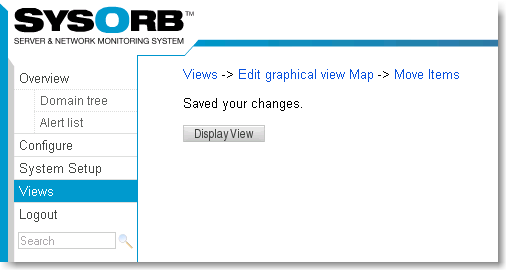
Using the mouse you should now be able to move the node around and place the node exactly where you would like it to be on the map. Once you placed the node where it should be press OK.
-
Press display view to see the result
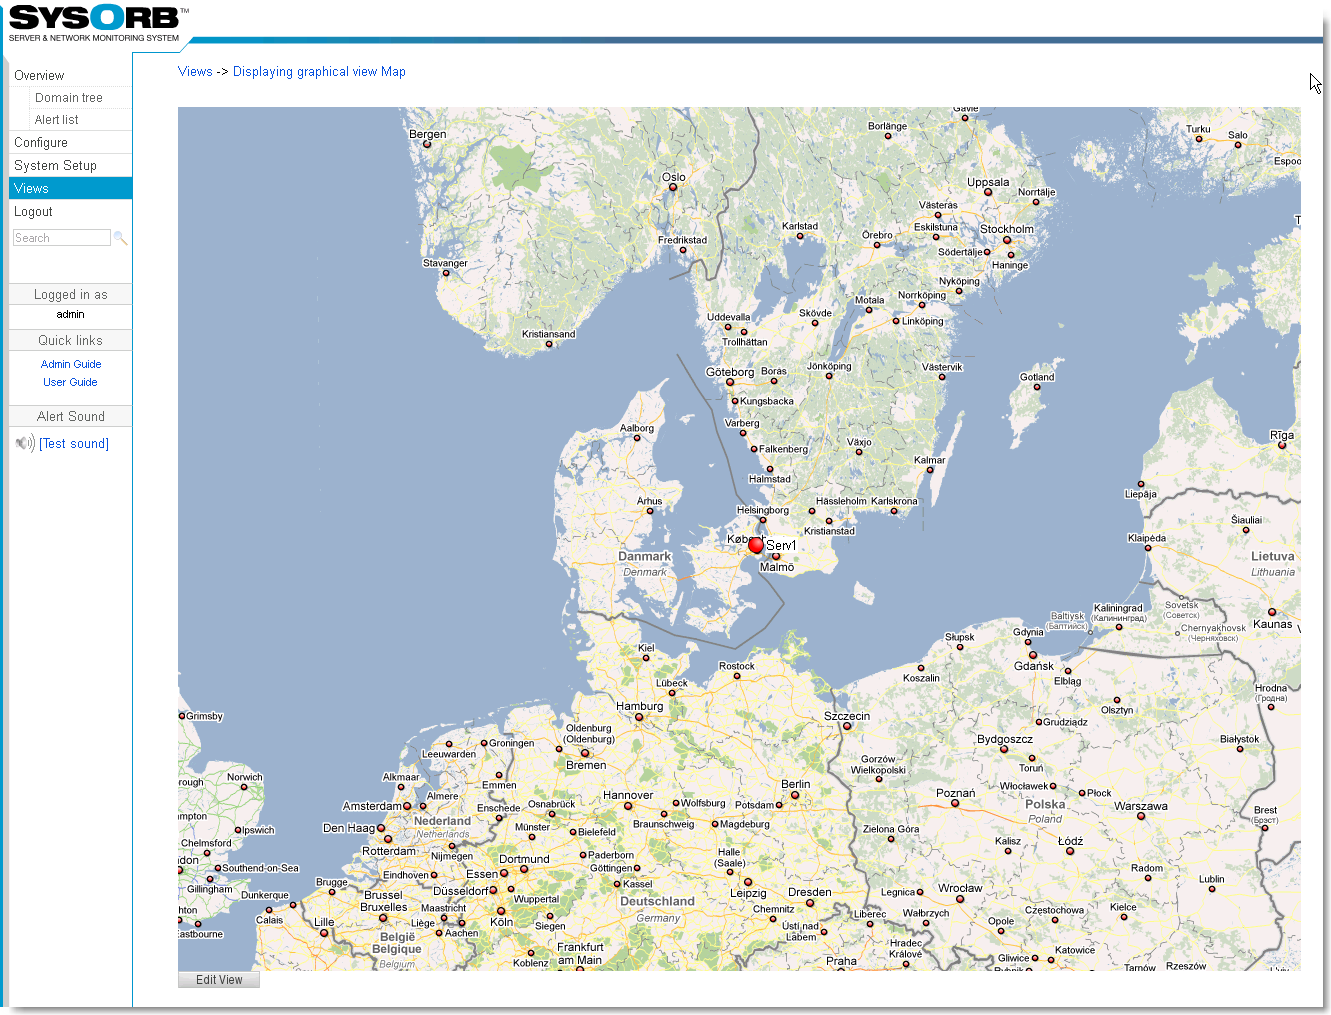
As we configured earlier that we would like a popup on alert we see it now. The popup tell us the there is an alert on this node. If you press the grey area in the popup you can navigate directly to the node to see what the problem is.
